


Portable Electric Brake Controller Wiring Harness/Loom 12 pin to 12 pin
$225.00
Availability: 25 in stock
Portable Brake Controller Plug & Play Wring Kit
The no wiring no soldering no effort 5min plug and play and you’re on your way Electric Brake controller kit.
If you already have a Brake Controller you don’t want to permanently mount and wire the unit up this is for you.
· Get Setup in 5 Minutes
· Plug into your cigarette lighter socket and plug in the trailer adapters, calibrate the brakes and you’re good to go!
· In less than 5 minutes, you have a Plug and Play setup ready to take you on adventures.
If you have a company car and are not allowed to permanently install any device. This setup is the most affordable option and is perfect for single car use. The mounting cradle can be mounted using 3M or similar adhesive which will not leave any marks on your interior and the brake unit can be removed from the vehicle with ease.
If sometimes you use 2 different vehicles to tow a caravan or trailer. This setup would still be a great option here as it’s the most affordable option You could quite easily switch the same brake unit between each as required.
This wiring harness is plug and play no wiring required and perfectly fits:
1. Haman Reese Gardian IQ
2. Tekonsha P2
3. Tekonsha P3
Included Contents:
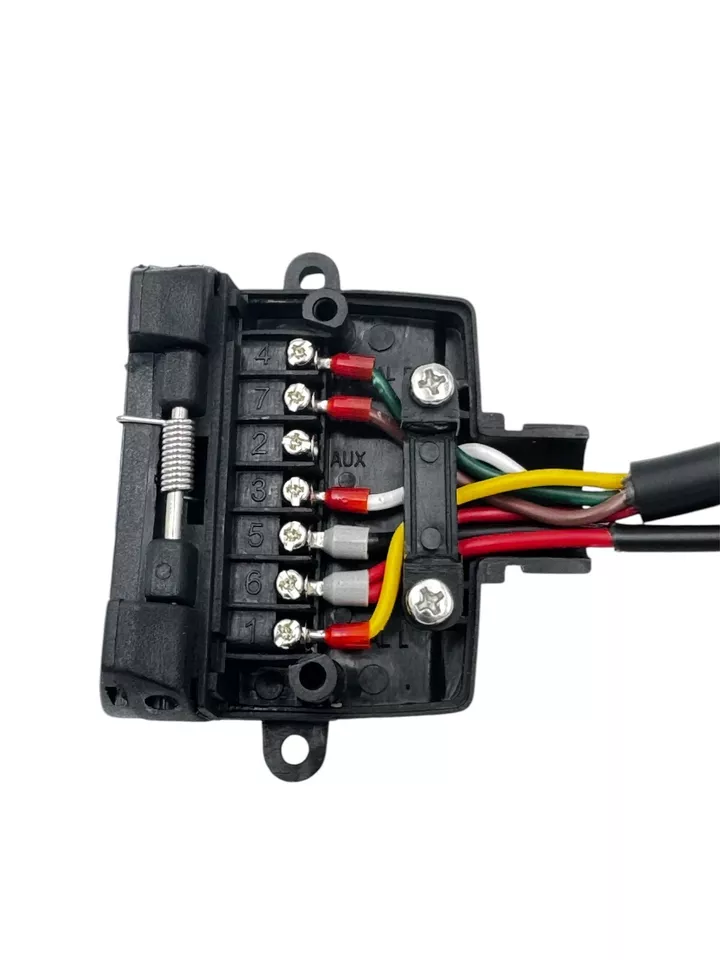
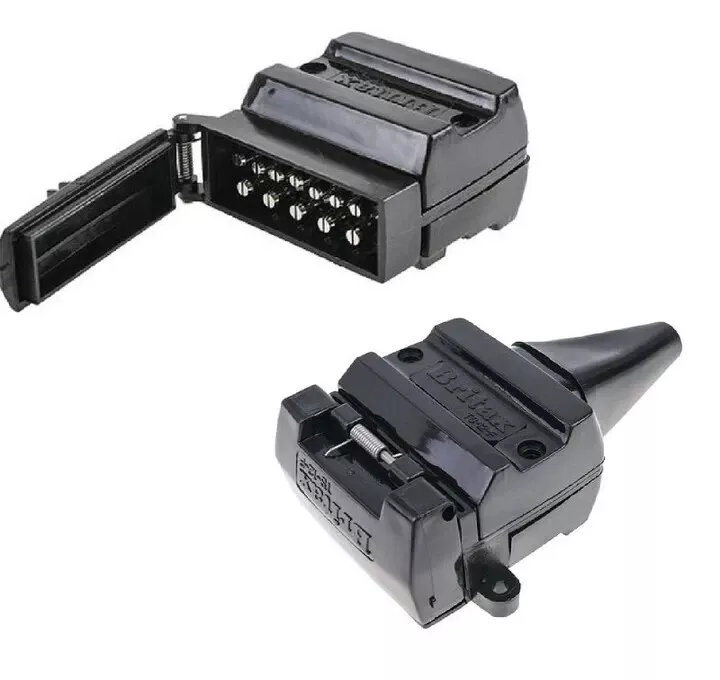
x1 Quality 12 pin Trailer plug (on Vehicle)
X1 Quality 12 pin Trailer plug (on Van)
x1 Accessory plug 81024bl
6m Australian made Tycab 4mm twin core cable
Fitting guide:
. 1. Securely mount the brake controller as per manufactures instructions Mounting any objects under or around dash area may interfere with airbag deployment – check with vehicle manufacturer for safety advice if this is being considered
· 2. Connect the 4 wire plug to the back of the Tekonsha brake unit.
· 3. Connect the cigarette power plug to the vehicles 12v socket.
· 4. Run the 6m length of cable from the brake unit to the rear of the vehicle feeding the cable through a safe path.
· 5. Drop the lead out of the boot lid, tailgate or rear door
Caution, do not pinch or damage the cable during this process.
· 6. Connect the trailer plug to the vehicle & connect the trailer to the other plug
· 7. Turn on vehicles ignition and follow the Brake Controllers instructions manual to set the power setting to 5.0 by holding the manual override fully to the left & rotate the power knob.
· Test brakes at a standstill position by applying the manual override while a secondary person listens to the trailer wheels to ensure the electronic brake magnets are operating. You should hear a buzzing noise coming from the trailer wheel hubs as brake power is applied.
· To test braking level is suitable for your towing weight drive the tow vehicle and trailer on a dry level & solid surface at roughly 40kph and fully apply the manual override.
· – If the brakes lock up, turn the adjustment control to a lower setting
· – If the braking was not sufficient, turn the adjustment control to a higher setting
Repeat the tow brake test until the adjustment control is set at a point just below trailer wheel lock up.
**** Note always make sure when using the Portable electric brake controller that there are no other accessories running off the same accessory socket, this will impair the brake controller’s efficiency and may reduce the overall braking force applied to the trailer that is being towed.
If towing a dual axle trailer it is recommended that you use a 15Amp 12V accessory socket as your accessory plug-in point as a MOST standard vehicle accessory points are rated at 10Amp and this will not allow you to brake at 100% braking force with more than a single axle braking system. If you do not follow this guide, you risk blowing fuses and causing other electrical faults. ****
*All pictures shown are for illustration purposes only. The actual colours may vary from those shown depending on the device you are using to view the product or the angle of the item is photographed. Actual products may vary due to product enhancements or updates. The listing should be referred to for the description of the product, any questions should be asked prior to purchase.
| Type | |
|---|---|
| Manufacturer Part Number | |
| Universal Fitment | Yes |
| Brand | |
| Warranty | |
| Classic Part | No |
| Performance Part | Yes |


